As the world pivots towards sustainable energy solutions, many homeowners in Western Australia are considering rooftop solar systems as a viable option to reduce their carbon footprint and electricity bills. If you’re among those looking to make this green transition, understanding the installation process is crucial. Here are ten essential steps to guide you through the process of installing a rooftop solar system in Western Australia.
1. Assessment of Solar Potential
Before embarking on your solar journey, it’s important to evaluate your rooftop’s potential for solar energy production. This involves considering the orientation of your roof, potential shading from nearby buildings or trees, and the available roof space. The optimal orientation in Australia is typically north-facing roofs with little to no shade. This maximizes exposure to sunlight, ensuring your solar panels produce energy efficiently throughout the day.
2. Energy Audit and System Sizing
An energy audit is your next step. This process will help you understand your household’s current energy consumption and identify areas where energy can be saved. Conducting an energy audit allows you to determine the most appropriate size for your solar system, tailored to meet your electricity needs. By knowing your energy usage patterns, you can size your system to maximize your investment, ensuring that it’s neither too large nor too small but perfectly matched to your household’s needs.
3. Research Good Installers
Choosing the right installer is critical. Research reputable solar installation companies in Western Australia that have a proven track record. Look for companies with positive customer reviews, appropriate licensing, and necessary certifications. Experience in the field indicates that the installer can handle the specific challenges and conditions typical to your location.
4. Obtain Quotes
Once you’ve identified potential installers, contact them to obtain detailed quotes. These quotes should include the cost of the equipment, installation fees, system warranties, and any government incentives or rebates you may be eligible for. Comparing quotes from several providers will help you understand the market and choose the best offer based on cost, service, and quality.
5. Site Inspection
After selecting your installer, the next step is to schedule a site inspection. This allows the installer to assess your roof’s suitability for solar panels, check for potential structural issues, and discuss the best placement options for optimal energy production.
6. System Design
Following the site inspection, your installer will design a solar system that meets your specific needs. This includes selecting the number and type of solar panels, the inverter, and additional components such as a backup battery or monitoring system. The design process is crucial as it lays out how the system will look and operate once installed.
7. Permitting and Approvals
Before installation can begin, you must obtain the necessary permits and approvals. This might include building permits, electrical permits, and approvals from your local utility company or council. Navigating this process can be complex, so your installer should assist you in ensuring all regulatory requirements are met.
8. Solar System Installation
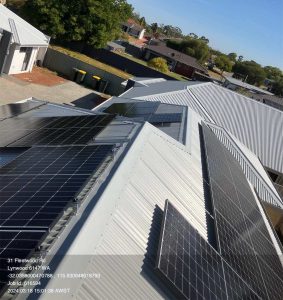
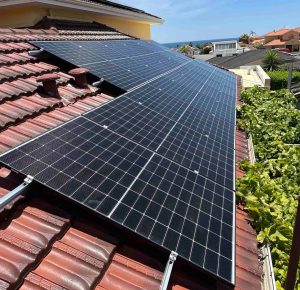
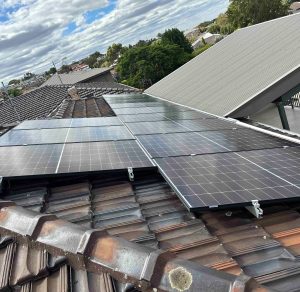
With all the preparations complete, the actual installation can begin. This typically involves mounting the solar panels on your roof, installing the inverter, setting up the monitoring system, and connecting everything to your home’s electrical grid. The process can take anywhere from a few days to a week, depending on the size and complexity of your system.
9. Grid Connection, Commissioning, and Testing
After the installation, your solar system needs to be connected to the grid. Your installer will handle this, along with the commissioning and testing of the system. These final steps ensure that your solar system is fully operational and meets safety standards. Testing will verify that all components are functioning correctly and are properly integrated.
10. Ongoing Maintenance and Monitoring
Once your solar system is up and running, ongoing maintenance and monitoring are essential to ensure it continues to operate efficiently over its lifespan. Most solar systems require minimal maintenance, typically involving regular cleaning of solar panels and occasional checks of the inverter and other equipment. Many systems now come with monitoring software that allows you to track energy production and consumption in real time.
Installing a solar system is a significant step towards energy independence and sustainability. By following these steps, homeowners in Western Australia can ensure a smooth installation process and enjoy the benefits of solar power for years to come.